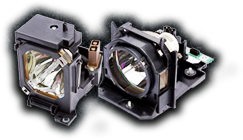
Your projector is smart and will let you know when your lamp needs replacing. However, it can seem intimidating at first to replace a projector lamp if you’ve never done it before. Don’t fret. We’ve put together some simple steps to help you complete the process.
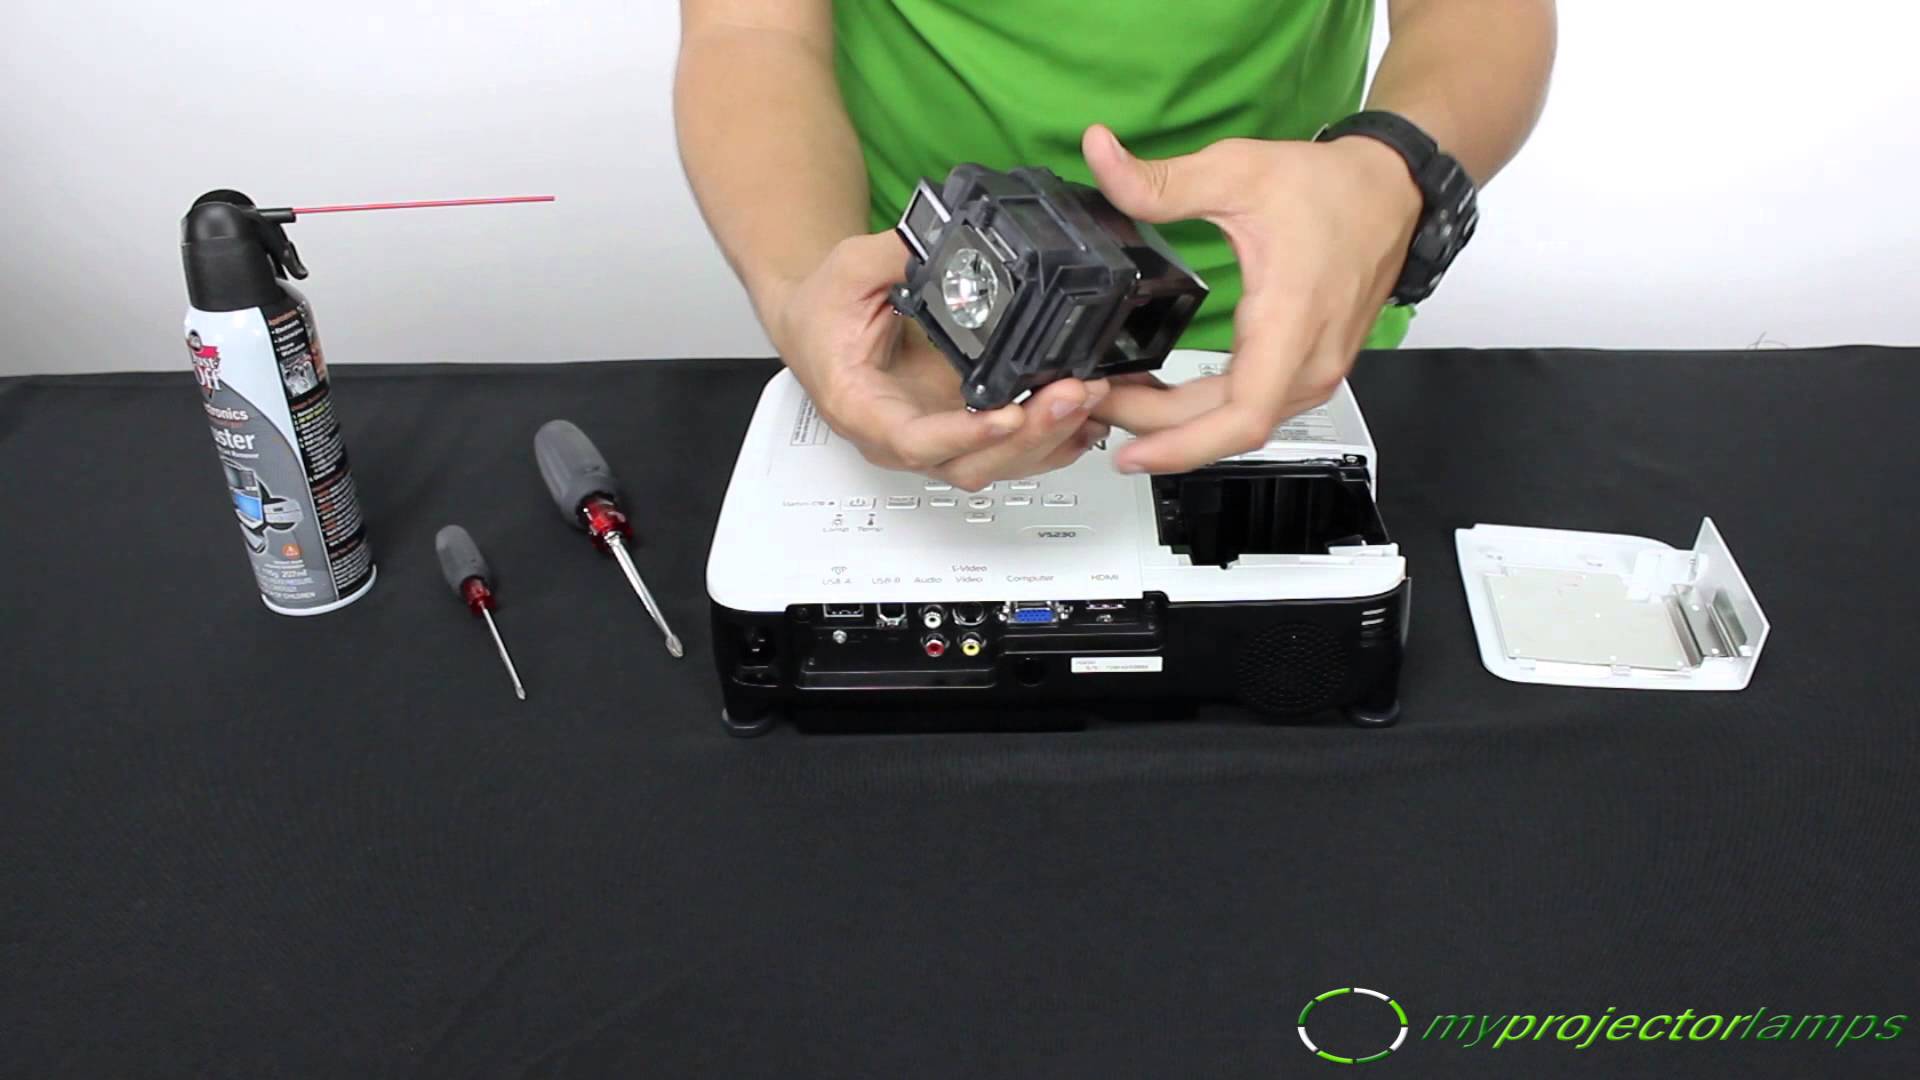
1.) Make sure your projector and any connected devices are turned off.
2.) Let your projector cool down (about 40 minutes), then unplug it completely for added safety.
3.) Collect essential tools including a screwdriver and a pair of rags.
4.) Follow instructions set in your projector manual to open the projector. To protect the inside, be sure to use a rag to clean off the projector before opening.
5.) Access the lamp housing unit.
6.) Gently and carefully remove the lamp using your clean rag. Why? These bulbs are very fragile and delicate. The rag will act as a buffer between you and the bulb. Note that some units may have a lever that will make it easier to remove the bulb. Check your manual before beginning this process.
7.) Once removed, you can now install your new lamp. Make sure it is securely in place and that the wiring is re-attached if required on your model.
8.) Finally, reset the lamp hour counter or timer to get your new projector lamp up and running. To do this, simply find the reset button then press and hold it for a few seconds.
9.) Close your projector and turn it on to test your new bulb.
It may be tempting to delay replacing your bulb, but note that you will likely only have a few hours left of viewing after your warning light comes on. Therefore, it is wise to have an extra bulb in stock before the warning light comes on.
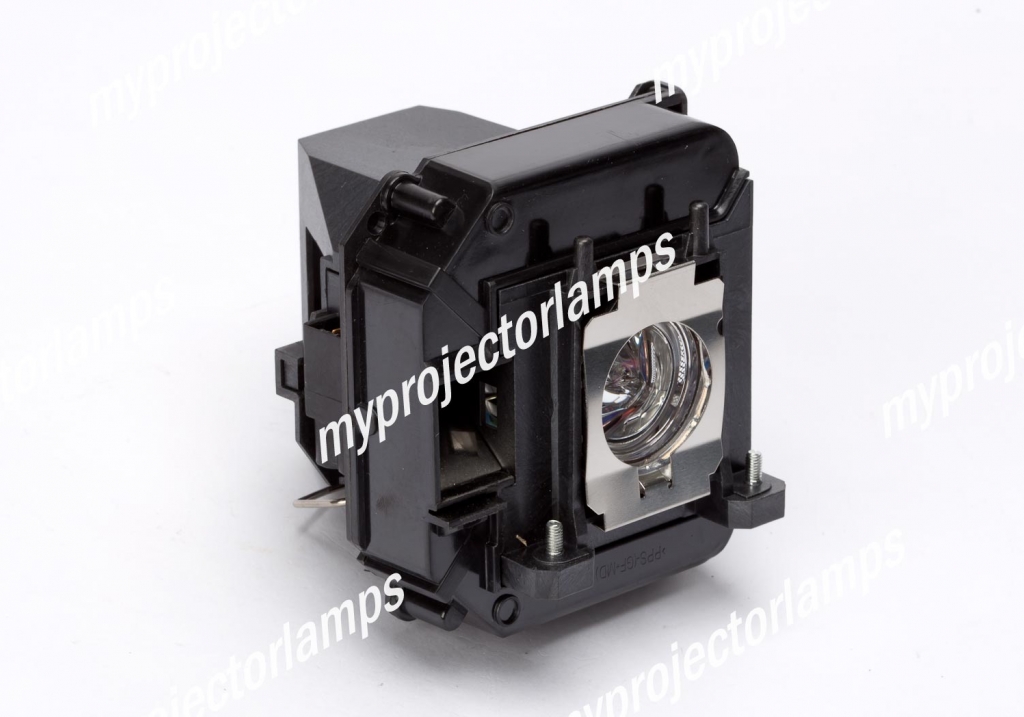
If you have a lamp that needs replacing, MyProjectorLamps.com has you covered with an unbeatable selection of high-quality replacement lamps at low, affordable prices. Shop with us today and save!
Category Archives: How to
Can You Make Your Own Projector For $10?
Don’t have the budget for a multimedia projector? Well, hey, here’s something that could give the most cash-strapped technophiles the big-screen projector experience. It’s the DIY $10 smartphone projector, made by you.
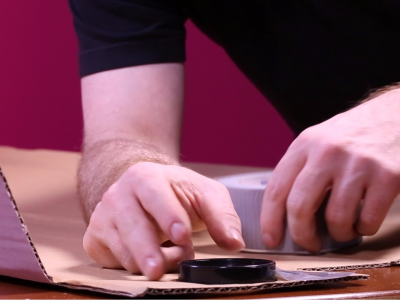
That’s right. You can make your own projector that displays video from your smartphone for right around 10 buckaroos. Sound impossible? Business Insider recently released a video showing a step-by-step tutorial for making the projector. It only takes a few items you can find at any general merchandise store, including:
A magnifying glass
Your smartphone
A shoebox
X-Acto Knife, tape and marker
Play-Doh
Essentially, the shoebox serves as the housing, the magnify glass as the lens, and your smartphone as the data input and bulb. A basic overview: You attach the magnifying glass to the front of the shoebox and the smartphone midway through the box. Thus, the screen of your smartphone is projected through the magnifying glass. The only catch: You have to make the screen display upside down, as the magnifying glass flips the image.
As for image quality? Well, for 10 bucks, don’t expect Ultra HD imaging, but from the Business Insider video, the image appears to be passable. At least your eyes won’t strain watching that small-screen. If anything, it would make for a great project to try with your kids on a Saturday afternoon. What do you think? Will you give it a shot?
How to prolong the life of your projector bulb
Want to get the full 2,000-3,000 hours out of your projector bulb? Of course you do and we’re here to help you do that. If you operate your projector using our basic guidelines, you’ll have the best chance.
Give Your New Bulb A Thorough Test Run
When you get a new projector lamp make sure to let it run for at least ten hours during the first week or so. If the lamp is defective, you should be able to tell by then. Even though we offer an industry leading 180 day guarantee, it is best to get an exchange or refund going so we can process it.
Keep Your Air Filters and Cooling Vents Clean
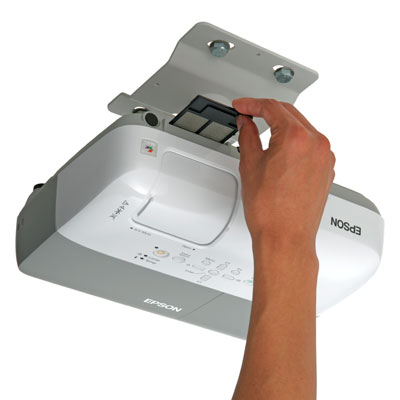
If your projector has an air filter, make sure to clean them regularly. The dust filter should be cleaned every 3-4 months. Clogged filters or vents do not allow proper ventilation. This can cause the projector lamp to overheat or even fail. Do not smoke around your projector, it gums up the fans and causes more dust buildup.
Always Remember Proper Ventilation
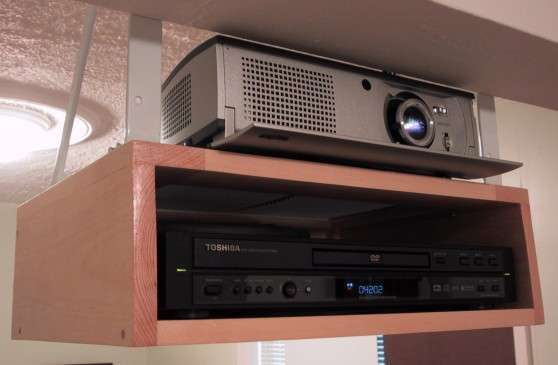
Do not obstruct the intake or exhaust vents on your projector. If your vents do not have room for adequate ventilation you risk the chance of overheating your projector. Make sure your mounting fixture or enclosure allows proper ventilation, or just keep us on speed dial.
Choose A Proper Venue
If your basement is prone to moisture or your loft is always hot you might want to reconsider your setup. You should always avoid environments with extreme humidity, temperature, and dust. So out in the garage in Cape Cod, Massachusetts, Doral, Florida or Pacifica, California is probably not the best place to mount your projector.
Let It Cool
When you turn off the projector there is a cool down process that keeps the fans on the bulb to let it cool down. Do not unplug your projector until this has finished. Hot lamps are very fragile, never move a projector until the lamp has completely cooled. Shock and vibration may damage sensitive lamp filaments.
Minimize I/O
Each time the projector is turned on, the rush of power causes stress on the lamp filaments. Each time it is turned off, the cooling process begins. I know I don’t have to tell you that a state of the art digital projector is not a toy, but this is more a reminder not to leave it out where children might be able to toggle the switches. In any case, we offer bulk discounts for schools, so there’s that.

Do not handle the lamp without gloves
It is important to know that projector lamps are similar to halogen lamps, but not identical. Halogen lamps strictly cannot be touched because the oil from your hands will create hotspots on the halogen lamp and cause it to fail. Projector lamp globes can be touched, but we recommend that you handle them as little as possible or not at all.
Use Economy Mode Whenever Possible
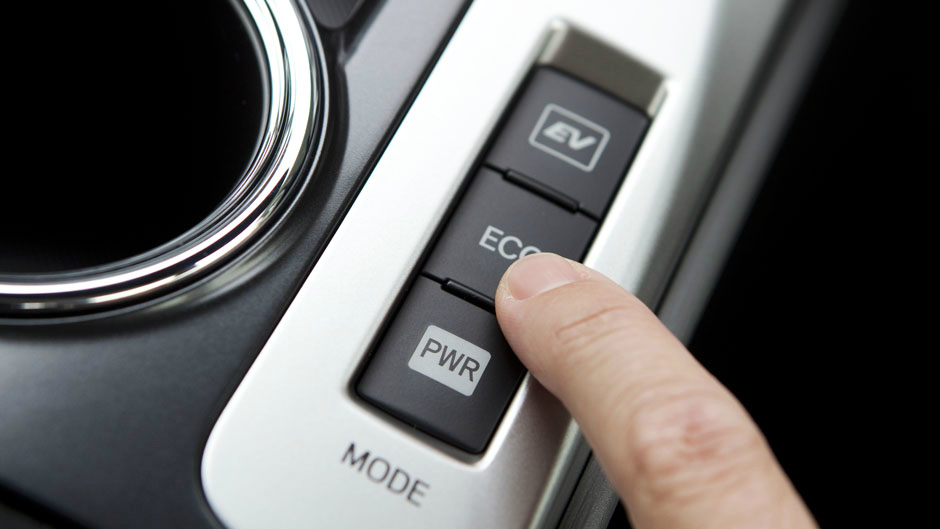
Most modern projectors have a normal and economy mode. Economy mode will usually make the projector lamp emit a slightly lower brightness level and can therefore extend the lamp life. Unsure if the projector has an economy mode? Please refer to the projector manual or contact the projector manufacturer.
How to Change a Projector Filter
Changing your filter is easy, but did you know that you don’t have to purchase a new one? You can clean your existing filter. Watch this short video to get tips on filter maintenance and learn how easy it is to remove and replace the filter in your projector. For all your projector lamp needs, be sure to visit www.myprojectorlamps.com for the BEST prices found online.
TRANSCRIPT:
Hi Everyone. Thanks for tuning in to another MyProjectorLamps video.
Today we’re going to discuss Projector Filters and some useful filter maintenance tips.
(Roll the MPL Intro)
Did you know your projector has a filter? Every single projector has one and it’s important to know how it works.
(Pull out filter from projector)
The most common question we get from our customers is: Do I need to replace the filter when I replace the lamp? The answer is no!
Something that the manufactures of projectors don’t want you knowing is that, filters can be used, and re-used time and time again – as long as they are cleaned properly. In an ideal audio visual world, your filter should be cleaned out on a monthly basis. This would help keep both the projector and projector lamp running optimally. But because we are all busy, 1-2 times a year should suffice.
Filters come in all shapes and sizes.
(zoom in on the filters)
Generally there are going to be two materials that your filter is comprised of – one is more paper-like and the other is more sponge-like. (Point right hand in one direction and left hand in the other, as paper will appear on one side and sponge will appear on the other).
If your filter is more paper-like, you can tap it on a table or use a compressed air duster to eliminate excess dust.
(tap on table)
(show air dusting)
If the filter in your projector is sponge-like, you can actually wash it out using dish soap and water. Make sure to let it completely dry before putting it back into your projector. If you’d rather not deal with that process, you can also use a compressed air duster in this instance as well.
(Show clear glass bowl with dish detergent and water in it. Dip in sponge filter and wash by hand)
As you can see, this isn’t rocket science, and there’s no use spending money unnecessarily on a new filter that you simply don’t need!
(Words appear on screen: “Cleaning your filter will prolong the life of filter, lamp, and projector!”)
If you have any questions about this process, feel free to give our super-friendly customer service reps a call. We’ll be happy to talk to you about optimal filter maintenance.
Thanks for joining us for another MyProjectorLamps video.
How To Set Up A Home Theater In Your Backyard
An outdoor home theater makes entertaining friends and family easy. There’s nothing quite like sitting outside and watching your favorite movie on a 12-foot screen. It’s like having your own drive-in theater, without ever leaving the house.
Fortunately, home theater technology has come a long way. Just a few years ago, an outdoor home theater would have cost a small fortune. Today, you can set up an outdoor cinema in your backyard, on just about any budget. In fact, it might be easier than you think, especially if you already own an HD projector.
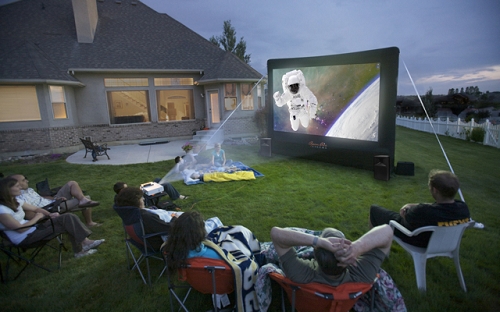
What you’ll need:
• An HD Projector
• A Receiver and Speakers
• DVD or Blu-ray Player
• A Portable Screen
• Cables and Extension Cords
1. Projector: It would be a challenge to set up an outdoor theater without a projector. And although the projector will likely be one of the more expensive pieces of hardware, affordable options are available. You can choose a short-throw or long-throw projector. But a short-throw projector can be placed closer to the screen, which leads to better image results and can diminish shadows.
A few other factors to consider: Projector brightness and resolution. Brighter projectors deliver excellent image quality even without total darkness. Therefore, you can start your backyard movie at dusk, rather than waiting until the sun is all the way down. Plus, due to the large screen, the better your projector’s resolution, the better the image will be. Choose a 1080p or 720p projector for the best results.
2. Screen: You have a little flexibility when it comes to a screen. The options range from blow-up movie screen kits, which cost a hundred dollars or more, to homemade screens. The kits include everything you’ll need, including stakes and a machine to blow it up and keep it inflated. DIY screens, on the other hand, can be as inexpensive as a bed sheet hung over a fence or something you build yourself.
3. Sound System: A home theater wouldn’t be complete without high-quality sound. For the best results, you’ll need a receiver and a set of speakers that are compatible with your projector and DVD or Blu-ray player. Home theater receivers deliver great sound, but even a stereo receiver works. You can achieve theater-quality sound without breaking the bank.
Tips for Getting the Best Image
Once you’ve found all the pieces, you’re ready to setting up your outdoor theater. The key is getting your image just right. First, you’ll want to find the best “throw distance,” which is the distance from the projector to the screen.
Long-throw projectors, for instance, have a longer throw and must be placed further from the screen. Unfortunately, although you get a larger image if the projector is further away, you also run the risk of casting shadows. That’s why a short-throw projector like the BenQ W1080ST works better for outdoor cinemas. You can move the projector closer or further away from the screen to test.
Also, depending on the projector you’re using, you might have to get the alignment just right. For instance, some projectors have a vertical offset, which means they must be placed a certain distance above or below the screen. If that’s the case, you’ll want to build a secure stand to hold your projector, and floor-mounts are usually the easiest option for outdoor theaters. (Learn more about mounting your projector for the perfect picture here.)
Plus, a few other quick things to consider:
• Try to avoid direct light from street lamps or other exterior home lights.
• Don’t forget some good seats and good food.
• And one last piece of advice: Don’t forget a flash light!
How to Mount Your Projector for the Perfect View
Where’s the best spot to mount your home theater projector? Well, it depends on several factors and the type of projector you’ll be using. For instance, short throw projectors must be closer to the screen, while long throw projectors are better positioned further away.

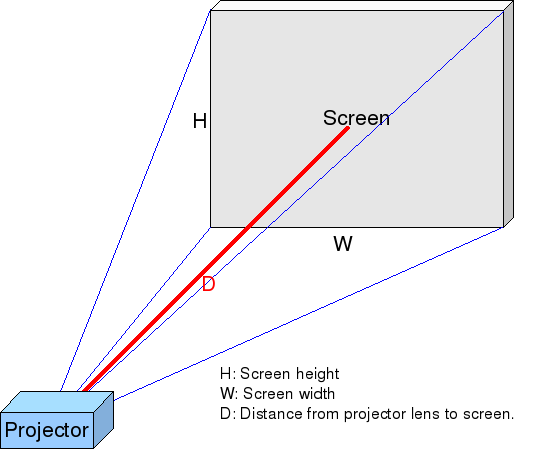
You can calculate the best position for your projector easily. First, you’ll need to know screen width, throw distance — or the distance between the projector’s lens and the screen — and “throw ratio.” Throw ratio is very important for home theater configuration, and it can be found by dividing the throw distance and screen width. For projectors with zoom capabilities, throw ratio is a range; for instance the 3M X50 has a throw ratio between 1.51 and 1.82.
Using the throw ratio, you can determine the screen size and throw distance. For example, a projector with a throw ratio of 2.0:1 placed 15 feet from the screen would project an image that is 7.5 feet wide. Here’s the equation: Throw Distance (D) / Throw Ratio (R) = Screen Width (W). Conversely, with screen width, you can determine throw distance: W R = D. So for a 7.5-foot-wide screen, your projector would need to be 15 feet away: 7.52= 15 feet.
Mounting Short Throw Projectors
Short throw projectors are perfect for home theaters, because they can be much closer to the screen and achieve great image results. These projectors have smaller throw ratios that are usually below 1:1. For example, a short throw projector with a 0.6:1 ratio could achieve a 7-foot-wide screen from just 4.2 feet away. Because of this, short throw projectors can achieve great image results even when mounted near the floor.
Mounting Long Throw Projectors
The throw ratio for long throw projectors is larger, and they must be further from the screen. That’s why long throw projectors are often used in conference halls and college classrooms. Here’s an example: If you wanted an 8-foot-wide screen at a 2.5:1 throw ratio, the projector would need to be 20 feet from the screen. Because of this larger distance, ceiling or tabletop mounts are often the best option to avoid casting shadows.
Aligning Projector Lens and the Screen
Depending on the type of projector you own, you can determine where to position the center of your projector lens. For instance, some projectors have an “vertical offset,” which means the center of the lens needs to be slightly above or below the screen. For instance, the Optoma H180X has an 112% offset. This means that for a 100-inch-tall screen, the center of the H181X lens would need to be 12 inches above or below the screen.
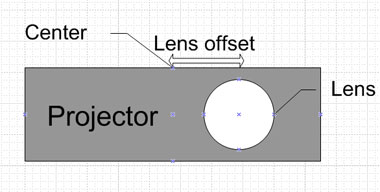
Conversely, some projectors have no offset. When there’s no offset, the center of the lens should be at the top or bottom of the screen. And finally, some projector lens must align horizontally with the center of the screen. Fortunately, many home theater projectors have horizontal or vertical shift capabilities. This means the picture can be adjusted to fit the screen. You could just look at the owner’s manual if you are doubtful or cautious.
