Your projector is smart and will let you know when your lamp needs replacing. However, it can seem intimidating at first to replace a projector lamp if you’ve never done it before. Don’t fret. We’ve put together some simple steps to help you complete the process.
1.) Make sure your projector and any connected devices are turned off.
2.) Let your projector cool down (about 40 minutes), then unplug it completely for added safety.
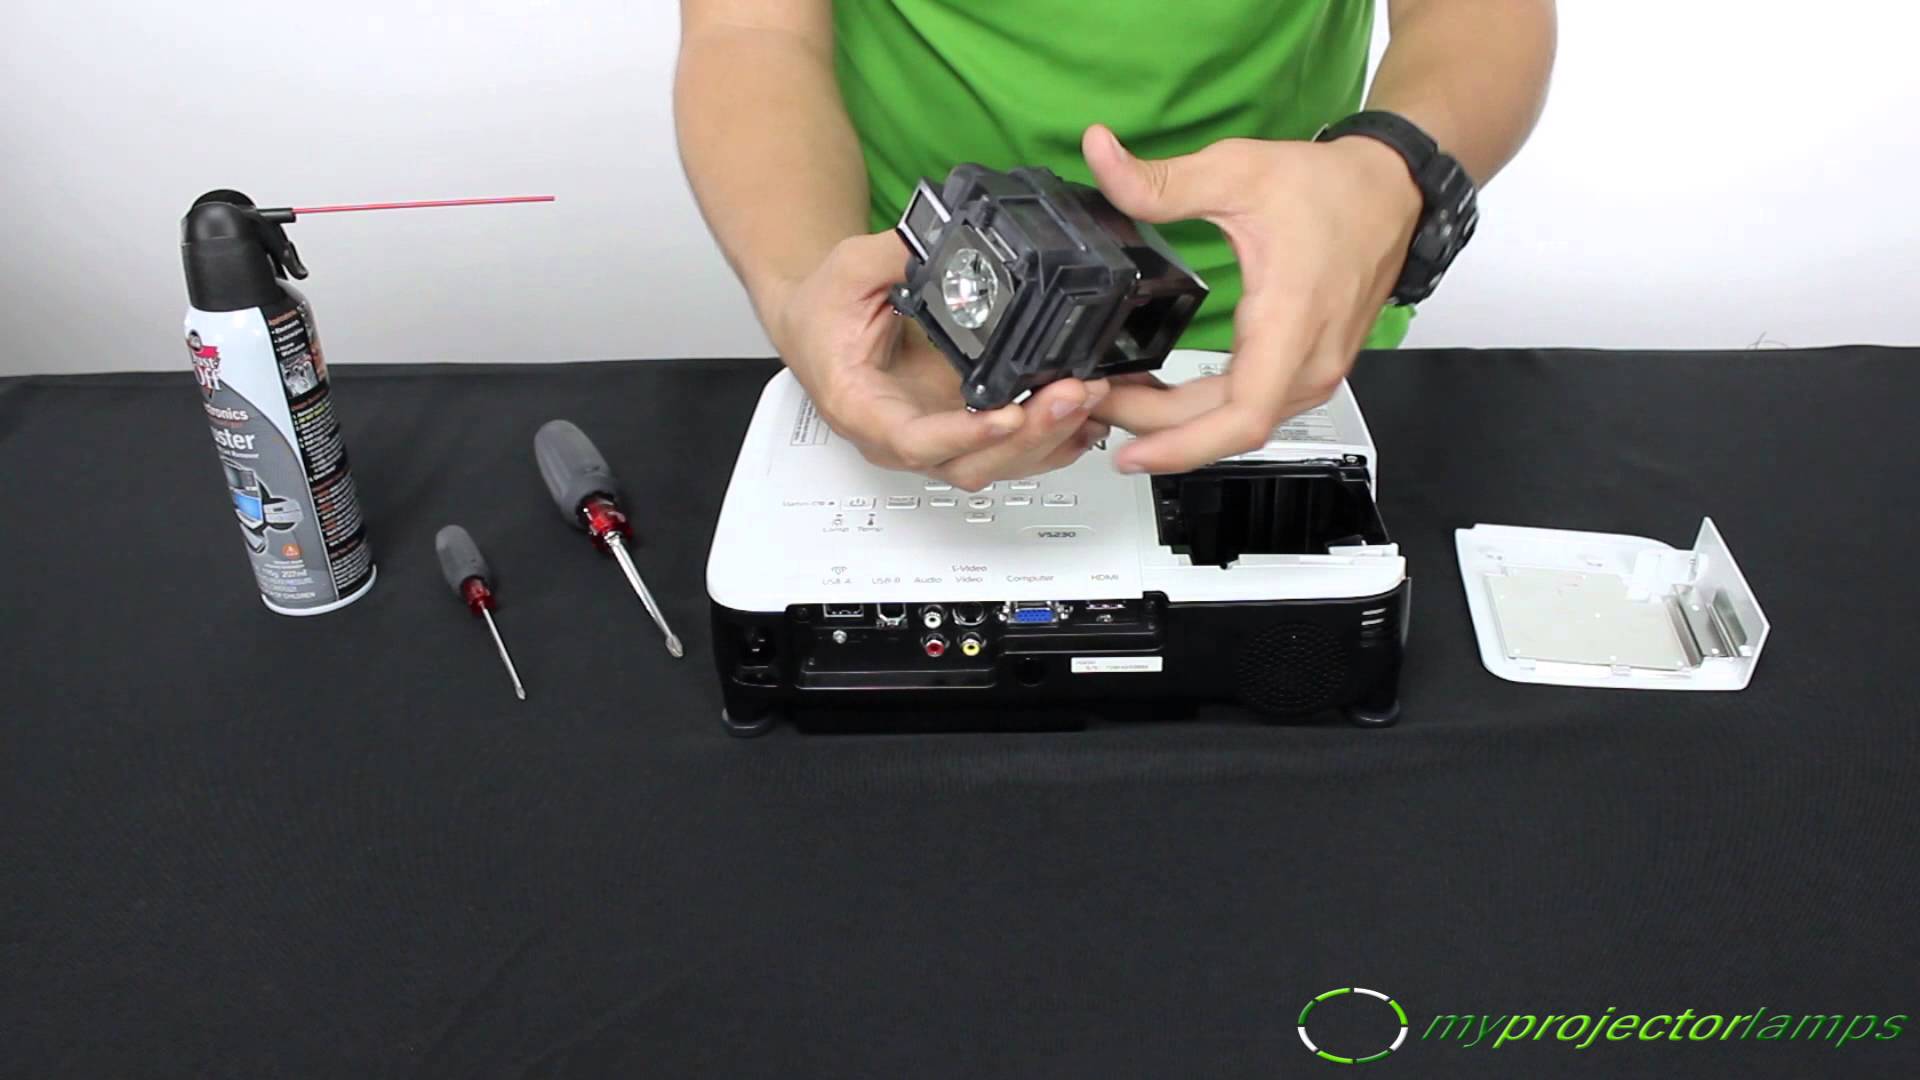
3.) Collect essential tools including a screwdriver and a pair of rags.
4.) Follow instructions set in your projector manual to open the projector. To protect the inside, be sure to use a rag to clean off the projector before opening.
5.) Access the lamp housing unit.
6.) Gently and carefully remove the lamp using your clean rag. Why? These bulbs are very fragile and delicate. The rag will act as a buffer between you and the bulb. Note that some units may have a lever that will make it easier to remove the bulb. Check your manual before beginning this process.
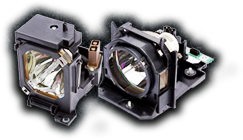
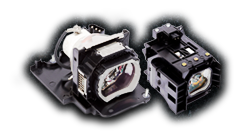
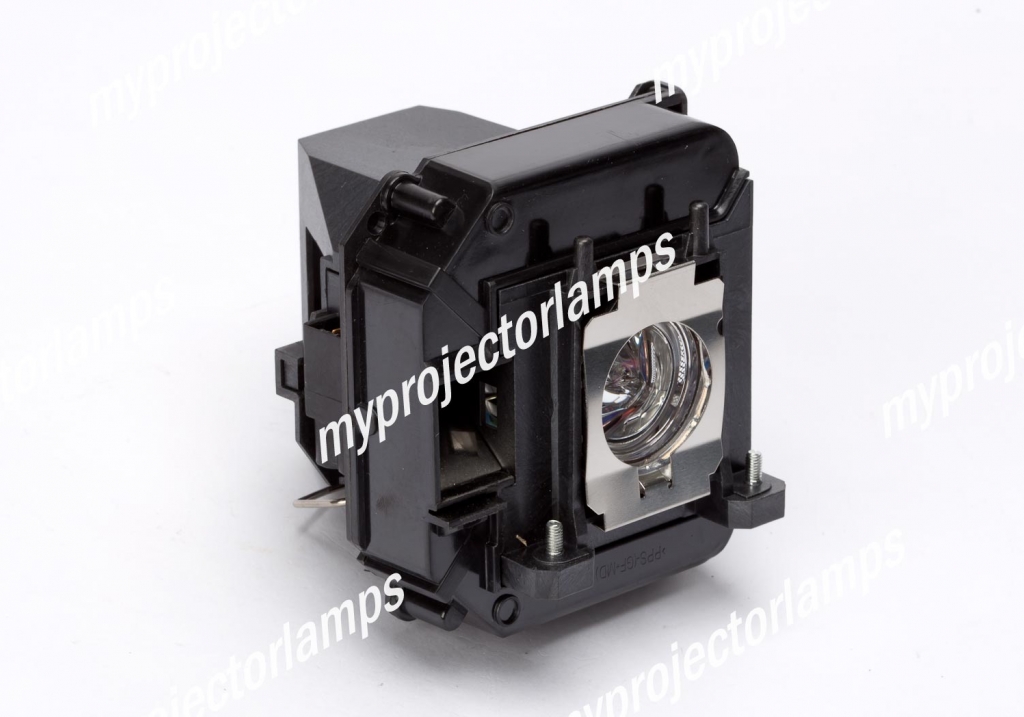
7.) Once removed, you can now install your new lamp. Make sure it is securely in place and that the wiring is re-attached if required on your model.
8.) Finally, reset the lamp hour counter or timer to get your new projector lamp up and running. To do this, simply find the reset button then press and hold it for a few seconds.
9.) Close your projector and turn it on to test your new bulb.
It may be tempting to delay replacing your bulb, but note that you will likely only have a few hours left of viewing after your warning light comes on. Therefore, it is wise to have an extra bulb in stock before the warning light comes on.
If you have a lamp that needs replacing, MyProjectorLamps.com has you covered with an unbeatable selection of high-quality replacement lamps at low, affordable prices. Shop with us today and save!