You’re planning to have friends over to watch your favorite football team in the game of the century and no picture is showing on the screen. What should you do? Although you may be worried about it being a major problem, most often it is a simple connection error. Otherwise, your projector’s lamp may need replacing.
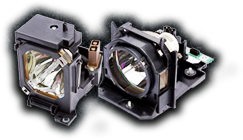
Replacing your projector’s bulb may seem complex, but with a few simple steps, you can complete the task in no time. First, you will need to gain access to your bare bulb. Most often housed in a structure that resembles a cage, this can be quite a challenge. Consequently, it may be easiest to just replace the entire unit.
Nonetheless, if you are up for the challenge, grab your screw driver and let’s get to work.
1.) Be careful to purchase a bulb that is compatible in lumen output, reflector size and voltage that fits your housing module. You can do a search on myprojectorlamps.com to find the correct lamp that matches your projector model.
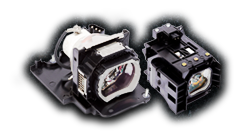
2.) Once you have the right bulb, access the module by removing the side panel to get to your lamp module. This may also be located on the bottom of your projector.
3.) Next, use your screwdriver to loosen the screws so that you can remove the lamp module.
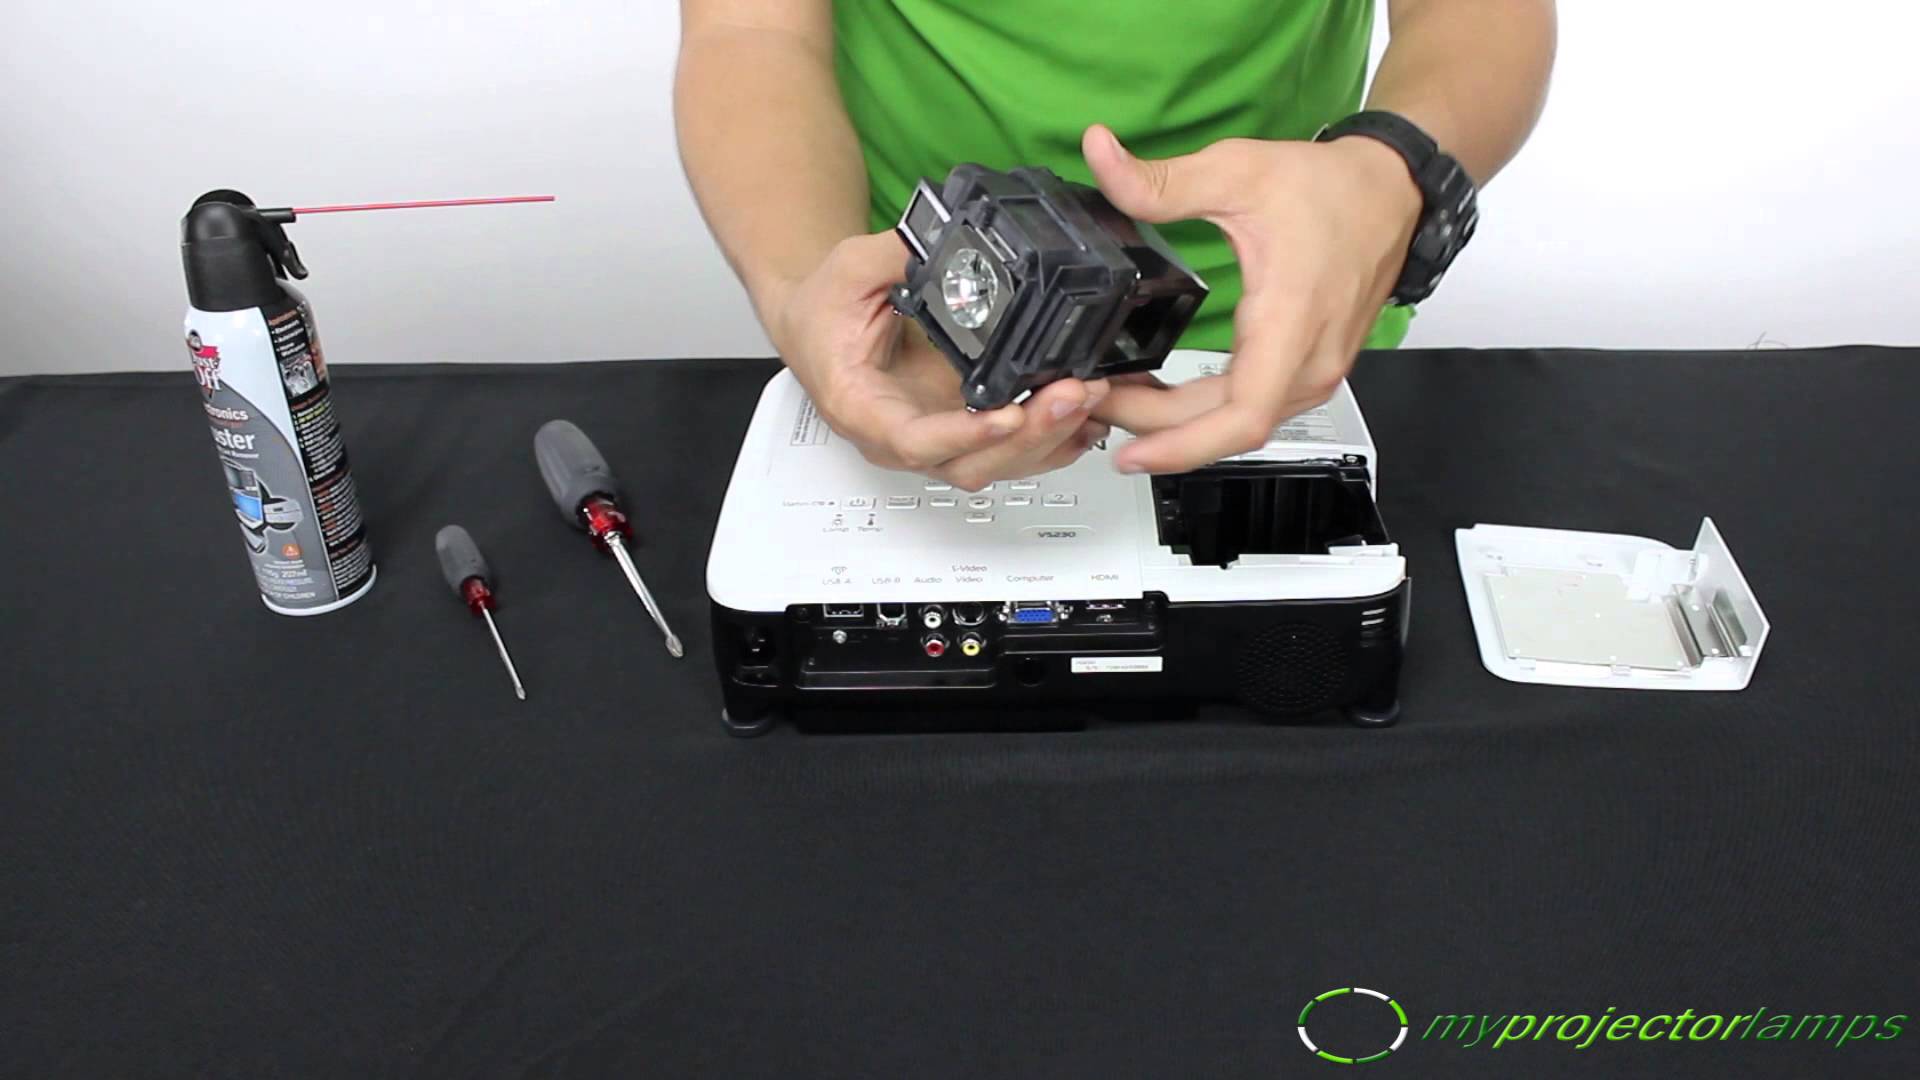
4.) Carefully lift and pull out your projector’s housing module.
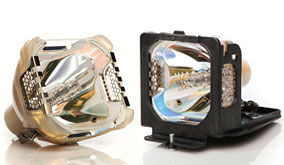
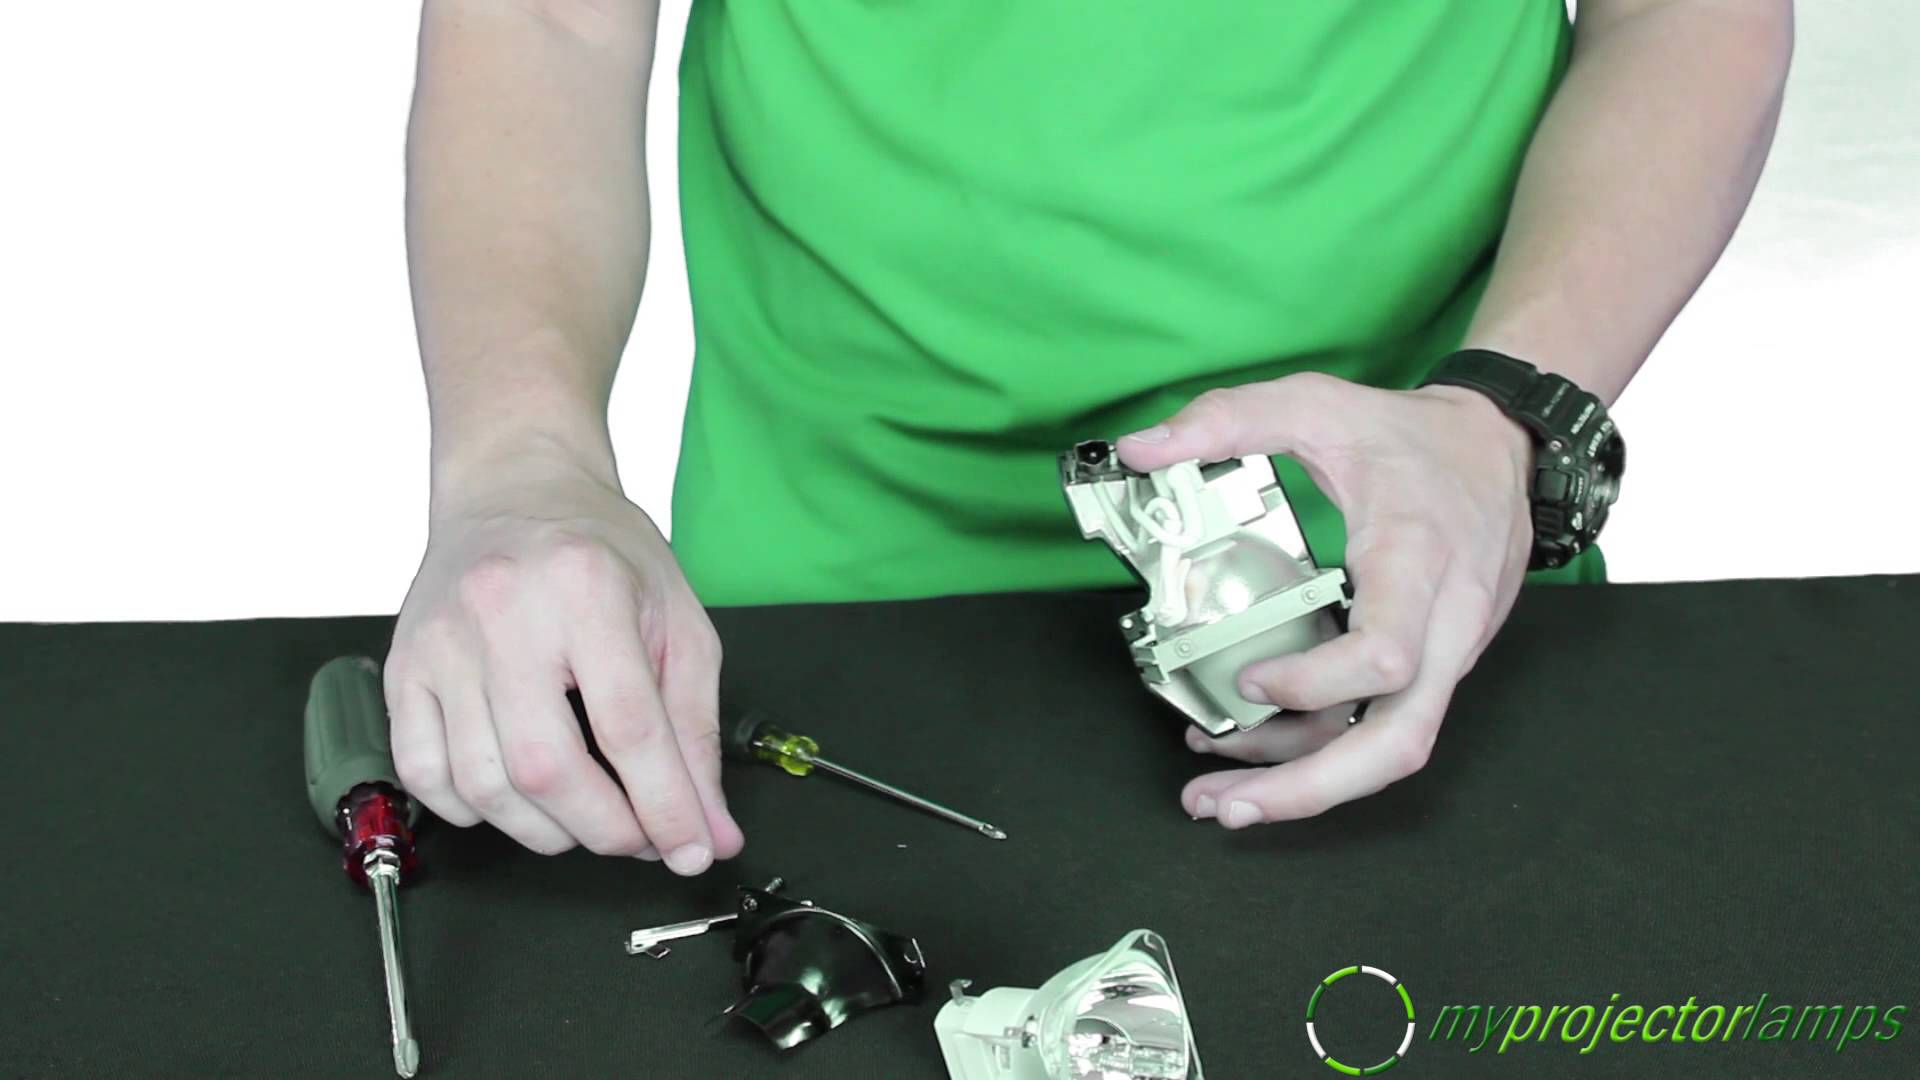
5.) Take apart the housing unit to access the bulb. This should be easy and is often done by simply lifting a couple of latches. But before you take it apart, make note of how it was put together so that you can put it back together in the right order. This includes your filters and the foam that protects the bulb.
6) Next, remove your OLD projector lamp from its module. Make sure you note which wires screw into which terminal BEFORE you remove the wiring. The removal procedure involves unscrewing the wiring from the module using a philips head screwdriver. It may also involve unscrewing elements of the module itself, and removing a retaining clip to dislodge the OLD lamp from its module.
7) You can then install the NEW projector lamp by inserting the lamp into the OLD module and fastening all the screws, wiring and clips. The parts should be assembled in the exact way as they were fastened before you removed the old lamp.
8) Once you’ve replaced the bulb into the module, insert it back into your projector and close the panel.
Be sure to reset your lamp counter so that your projector’s timer knows the bulb has been replaced. Turn on your projector to test the new lamp so that you can once again enjoy watching sporting events, movies and more!
If you have a lamp that needs replacing, MyProjectorLamps.com has you covered with an unbeatable selection of high-quality replacement lamps at low, affordable prices. Shop with us today and save!